Typically, our spring program for middle schoolers at the Fields Pond Audubon Center involves some type of pond exploration. Exploring a pond is a great way to learn about how an ecosystem works. Predator/prey relationships, life cycles, and energy flow are all easily viewed in a relatively small area of a pond. For this week’s “Nature in the Middle” activity, I invite you to get out and explore a pond.
Gather Supplies
You’ll need:
A small bucket
A few white plastic tubs or trays
Ice cube tray (with permission)
A net, or if you don’t have one, a handheld kitchen strainer (with permission, of course)
A magnifying lens, or a magnifying app on your phone (these are available as free downloads)
A camera, or a phone with a camera
Make a View Scope
An underwater view scope is also important, and you can make your own by following these simple steps.
Assemble these materials:
- an empty coffee can (or other large can that you can open up on both ends)
- a can opener
- plastic wrap
- a rubber/elastic band (big enough to fit around the can)
- duct tape or waterproof first aid tape
Ask an adult to help you use the can opener to remove the end of the coffee can (both ends need to be off).
Tape over the rough edges of the can so that you won’t cut yourself when you use your pond viewer.
Cut a piece of plastic wrap that is big enough to cover one end of the can and go at least halfway up the sides.
Stretch the plastic wrap over one end of the can, making sure it is smooth and tight across the opening.
Hold the plastic wrap and have an adult put the rubber band around the mouth of the can to hold the plastic wrap in place.
Now tape the ends of the plastic wrap to the sides of the can by wrapping tape all the way around the can at least two times. The tape will help keep water out of your viewer.
To use your pond viewer, dip the plastic wrap-covered end down into the water and look into the other end. This might be hard to do from the shore of some ponds. It helps to find a rock to crouch down on while you look.
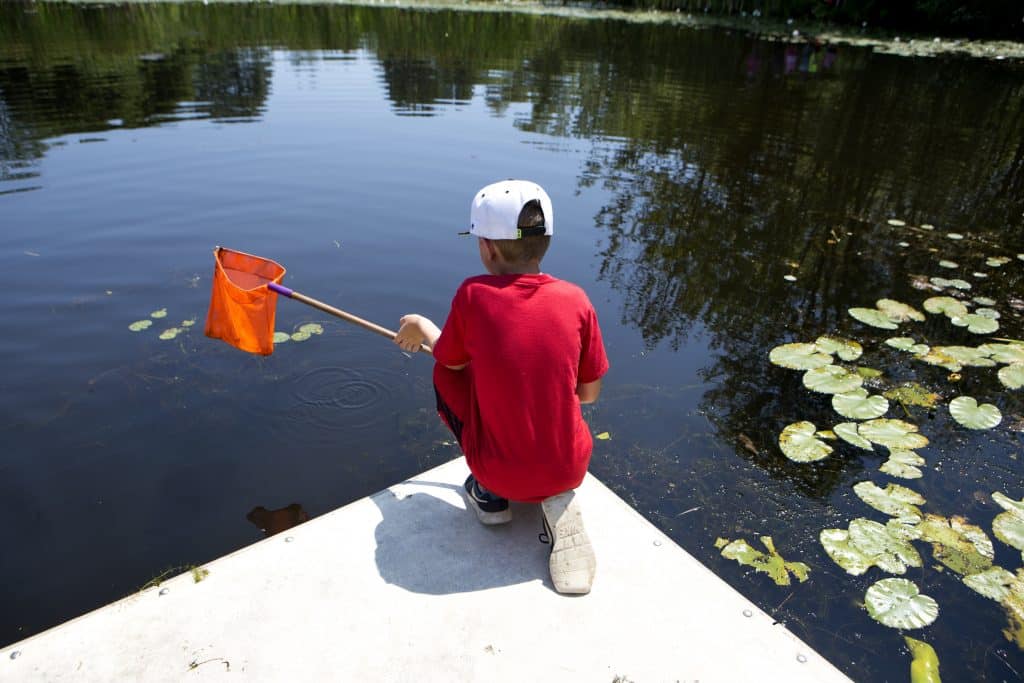
Head to a Pond
Once you’ve got all of your equipment ready, it’s time to head to a local pond. There is great temptation to swish your net after the first thing you see that moves. But wait! You’ll find many more creatures if you pause. Find a spot to sit quietly and observe.
First, observe what is surrounding the pond along the edges. Are there any birds, or perhaps a turtle sunning itself on a rock? What types of plants are growing along the edges? Next, observe the surface of the water. What at first glance looks like a stick poking out of the water could be the face of a frog or turtle. Are there plants growing on the surface of your pond?
Now it’s time to sink below the surface of the water. Take the viewing scope that you made and gently move it into position. The slower you move the less likely you will be to disturb anything. Imagine that you are an underwater explorer, seeing this aquatic landscape for the first time.
After you’ve made some initial observations and have explored the pond through your view scope, it’s time to do some more close-up observations. When you collect living and nonliving things from nature it’s always important to remember that you are a visitor. Be gentle, and be sure that everything you collect goes back in the exact same place you found it!
Collect Specimens
Fill your bucket halfway up with pond water. Use your net/strainer to scoop up some of the pond bottom material. Carefully place your net/strainer (facing up) into the bucket and gently strain some of the mud away. Don’t rush.
Look closely at the material that you have brought up. Is anything moving? Carefully remove each creature that you’ve found and place it into one of your white tubs/trays or one of the ice-cube tray sections. Be sure that there is pond water in each of these.
Once you’ve collected a number of different pond animals, take some time to closely observe them with a magnifier. Take a photo of each one and see if you can identify them using a field guide, online search, or smartphone app like Seek. Create a list of what you’ve found and record some background information on each animal. Then put the specimens back where you found them.
Next week we’ll take a look at some of the specific animals that you might have found living in a pond. In the meantime, happy ponding!